Rotary Powered Table Sander Created By Joshua Bryant

I came up with this simple project when I developed a need to sand down some wood dowels. I developed this with the following goals in mind.
- Mobile; must be small and able to be clamped to a bench.
- Rotary Power; must be powered by my dremel.
- Low Resources; must be created using stuff I have laying around.
- 3X 3"[0.25" Diameter] Hex Bolts with 0.5" of threading on the end (Smooth shaft prevents aluminum sleeve from shredding).
- 3 Nylon Washers
- 6 Metal Washers
- 3 Lock Nuts
- Aluminum Arrow (Inner Diameter must be slightly bigger than bolts [~0.5mm])
- Paper Clip
- Rubber Band (Size should be as square as possible [~1.5mm])
- Wooden Board (at least 12" x 7" x 0.5")
- Misc Screws (To fasten gear bases to board)
- Sand Paper
- Glue Stick (Paper Craft Glue)
- Velcro (or just print a holder for the rotary tool)
- Threaded Rotary Attachment (for polishers)
- Pipe cutter (for aluminum arrow)
- 7/16 wrench (for hex bolts)
- 3D Printer
- Sanding Wheel
- Primary Drive Gear
- Primary Drive Base
- Pulley Drive Gear
- Pulley Drive Base
- 2X Rotary Pulley's (one for tool and one for tension spring)
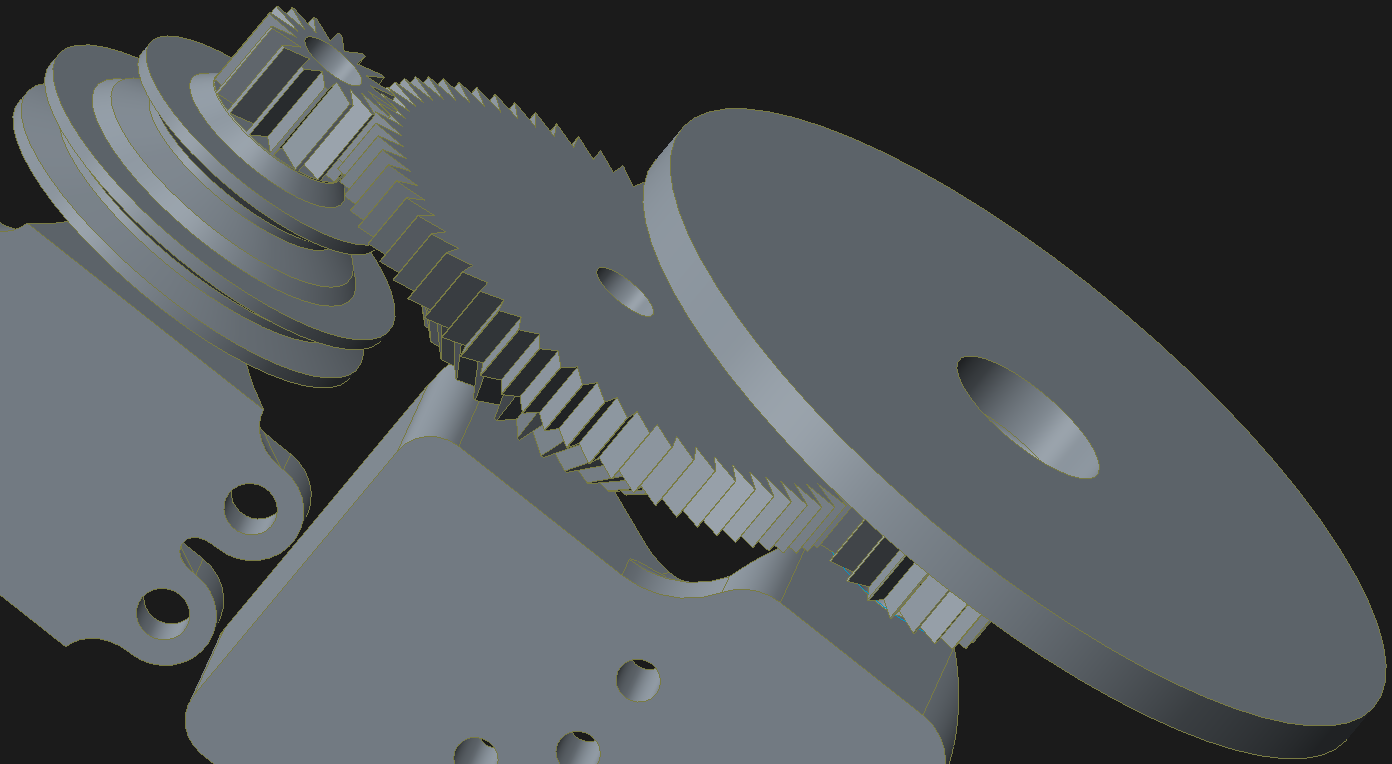
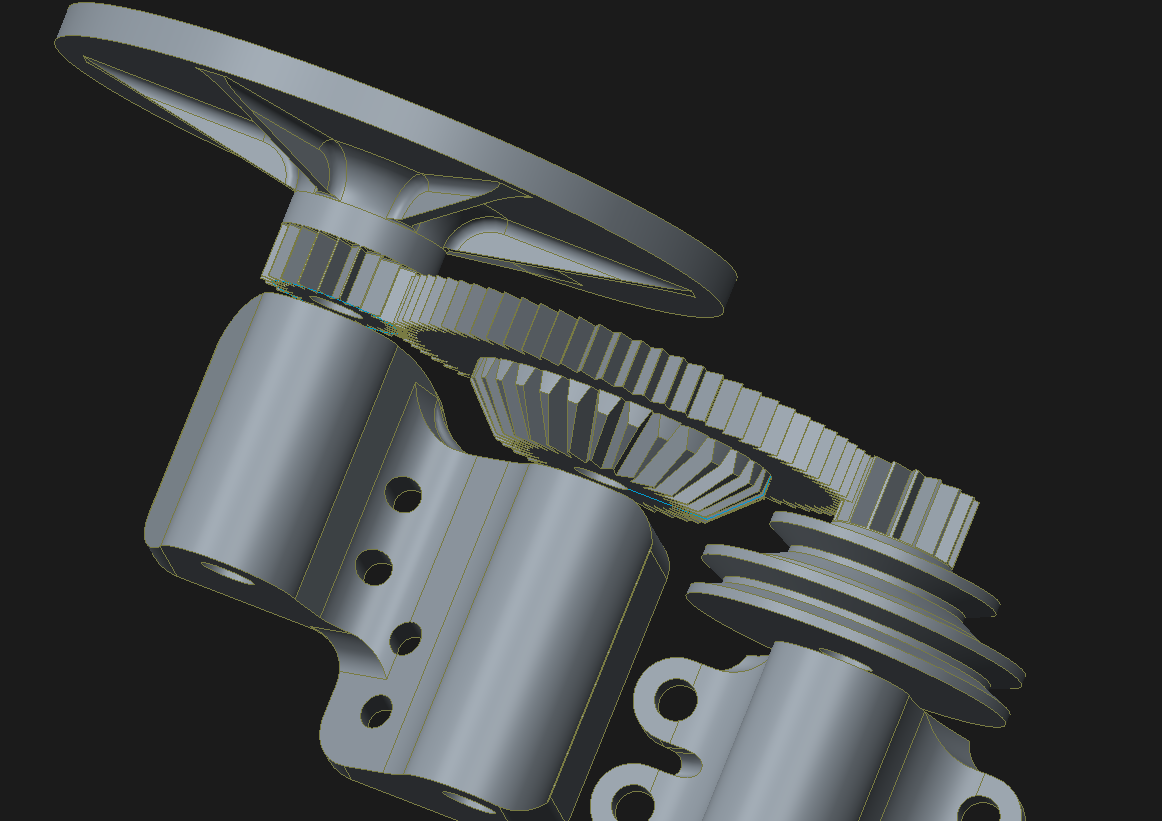

Then assemble the parts in the following manner so that the threaded end is towards the back.

I bent the paper clip around one of the rotary pulley's to make a simple belt tensioner. Even though you might not think this is needed because the of the rubber band's tension, it is required to keep the rubber band from wrapping on itself during start-up and shutdown.

After assembling the pieces and making sure that everything rotates smoothly add a little oil to the shaft and work it into the sleeves. From this point you just have to mount and fasten it all to the board. Use the images below to get an idea.


The sander in motion :-)
This sander is one of the handiest tools I've made, but do take note that the belt is a rubber band and the whole thing is made of plastic. This works great for sanding in 30-45min increments with a 5min cooldown in between. The rubber band only lasts a few hours, so invest in a large O-Ring for a more permanent solution.
Donate 25¢ to help me keep creating
zombie apocalypse worthy
ReplyDeleteThat's pretty sweet!
ReplyDeleteYou could even get one of those 3D printed flex couplings and put a permanent electric motor on the end of the 1st shaft with a U shaped hold down bracket
Very cool design!
Can I ask why did you make the 3 different gears? Why not go directly from the tool to the disk?
ReplyDeleteThank you so much for your wonderful support and information.Check toolsbeat for Chris about our product reviews
ReplyDelete